For years, glitter nails had an unfair reputation for being over-the-top — a look reserved for holiday parties or teenage nostalgia. But today’s glitter nail designs have evolved into something modern, wearable, and effortlessly polished.
When done right, glitter becomes an accent of texture and light rather than an explosion of sparkle. Think of it as jewelry for your nails — a subtle statement that reflects sophistication and personal style.
Whether you’re dressing up for a winter event or want a daily shimmer that feels timeless, these design ideas show how to keep your glitter manicure chic, balanced, and beautifully textured.
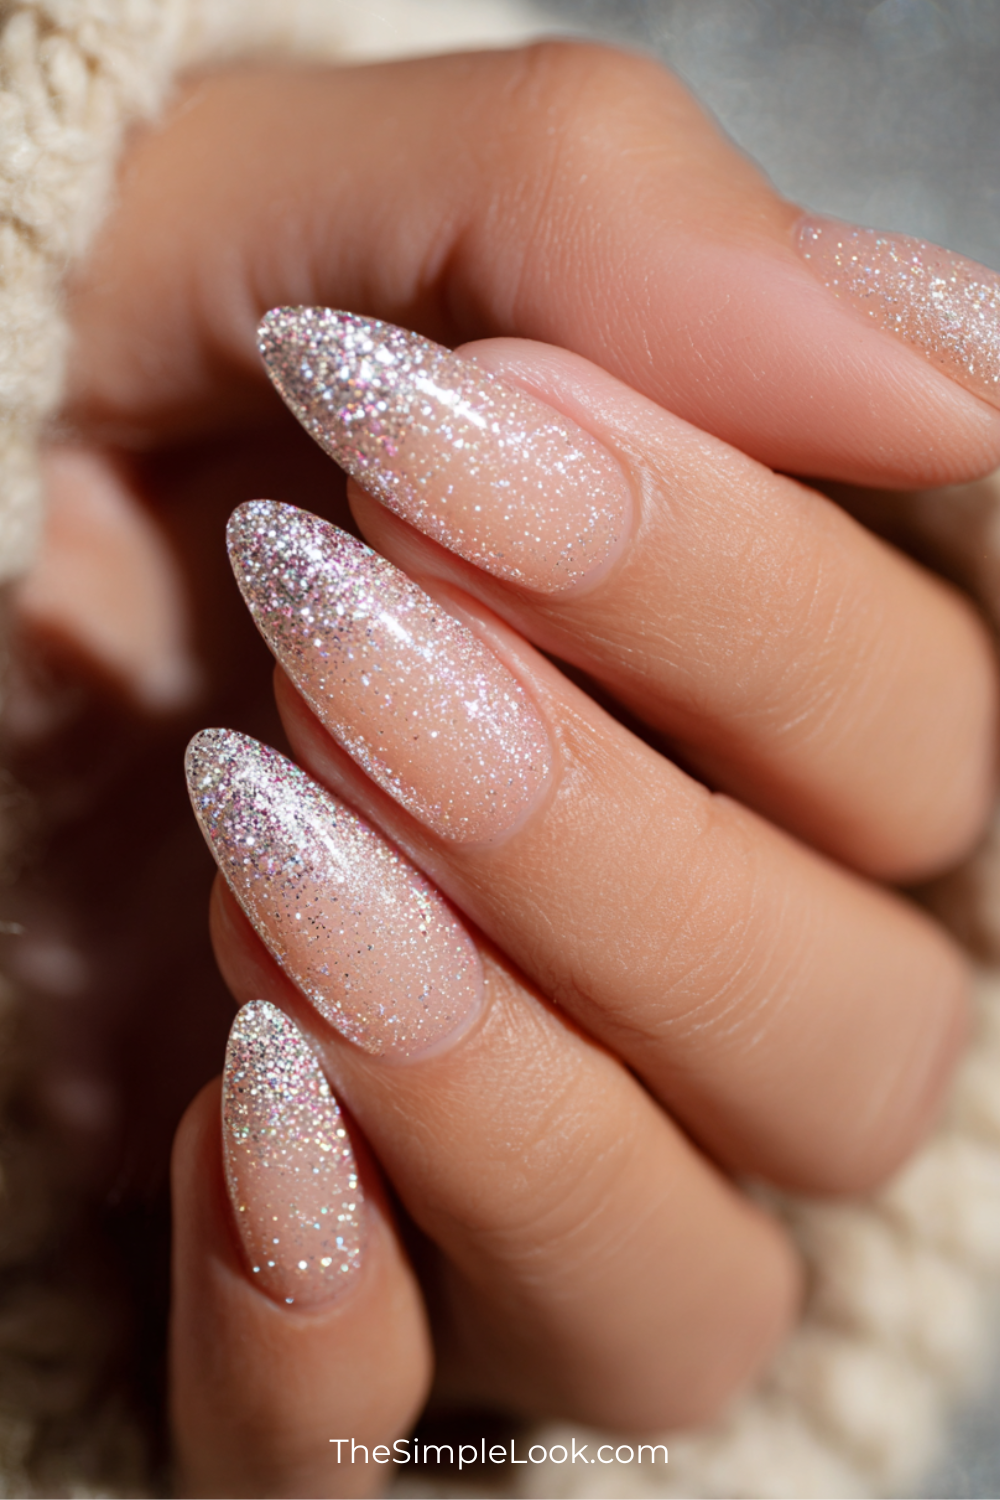
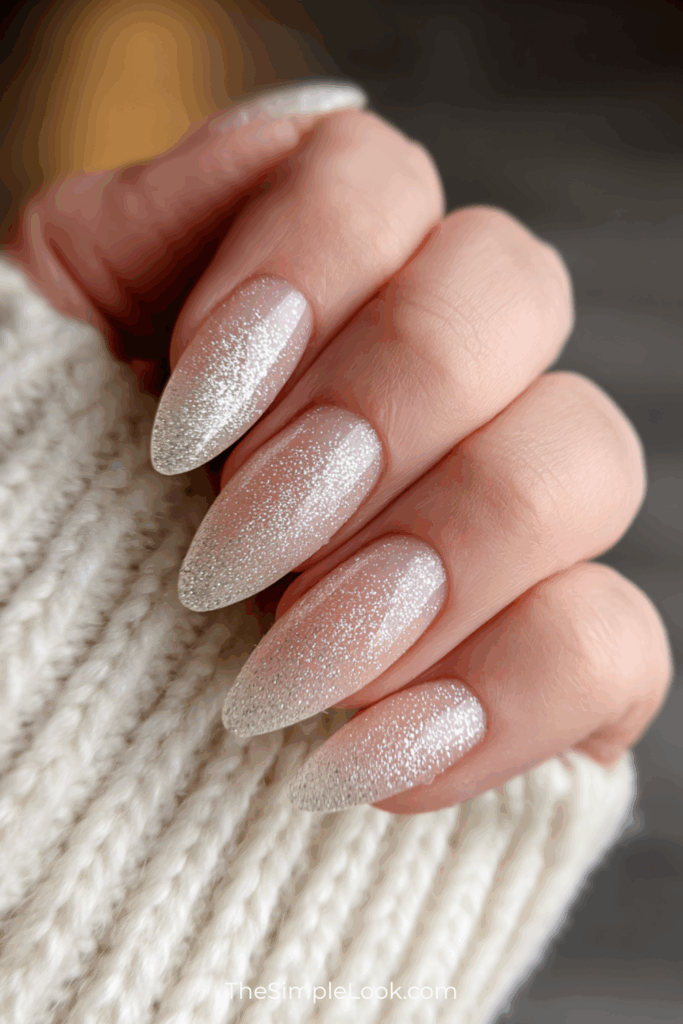
1. Micro-Glitter Fade: The Subtle Sparkle
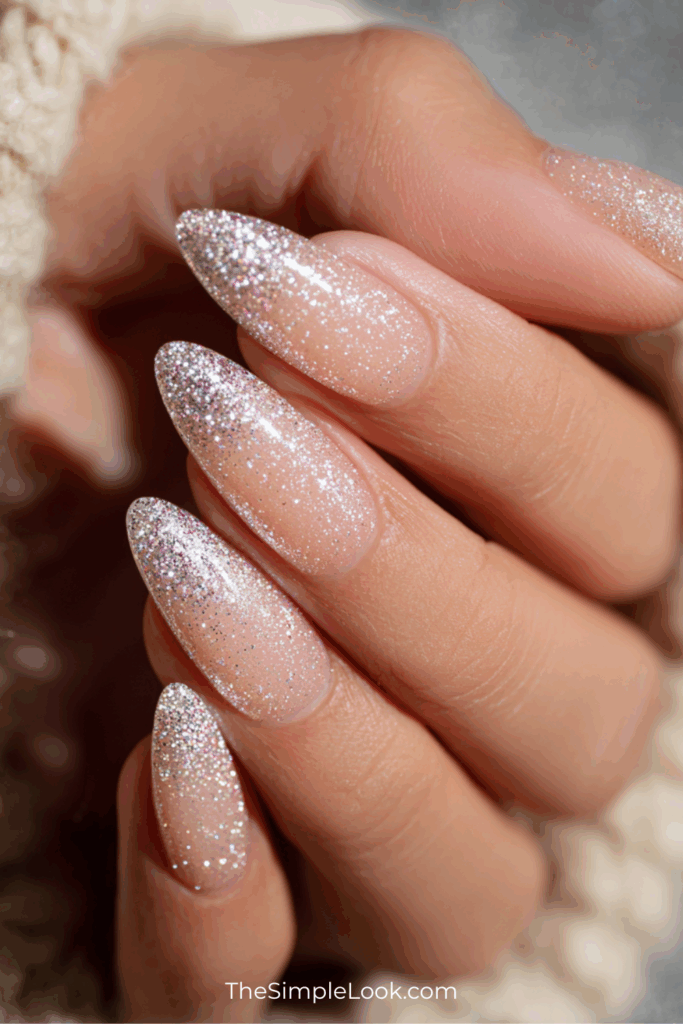
If you want to try glitter without committing to a full-on sparkle look, the micro-glitter fade is the perfect starting point.
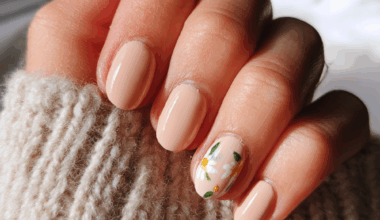
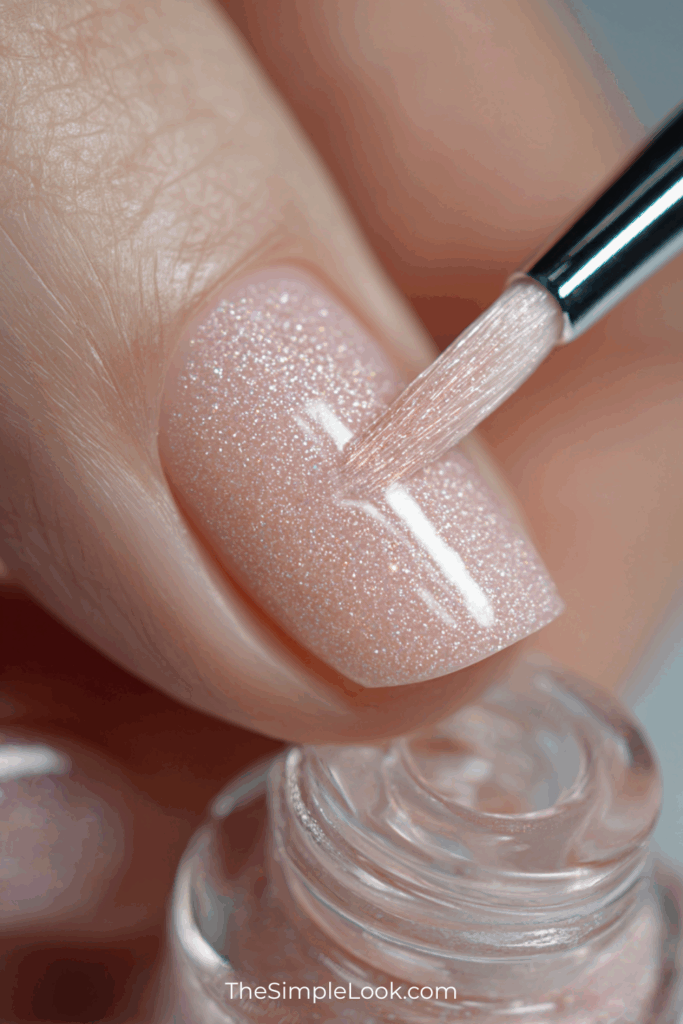
Start with a neutral base — beige, blush, or sheer pink — and fade a fine glitter toward the tips. The effect resembles a soft light reflection, similar to sunlight catching the edge of jewelry.
Pro Tip: Use ultra-fine glitter polish instead of chunky glitter for a smoother nail texture. This prevents that uneven, gritty finish that can look dated or messy.
Best For: Everyday wear, professional settings, and minimalistic looks that still have dimension.
2. Chrome Meets Glitter: The Liquid Light Combo

Combining chrome polish with glitter accents creates a mirror-like brilliance that feels futuristic but refined. Try coating your nails with a silver chrome base, then apply a dusting of fine holographic glitter to just one or two accent nails.
The trick here is moderation — the sophisticated glitter approach uses sparkle as a highlight, not the whole performance.
Texture Insight: Keep glitter application thin so the nail texture remains sleek and touchably smooth.
Best For: Glam nights out, events, or anyone who loves a modern metallic twist without excess shine.
3. Glitter-Cuticle Accents
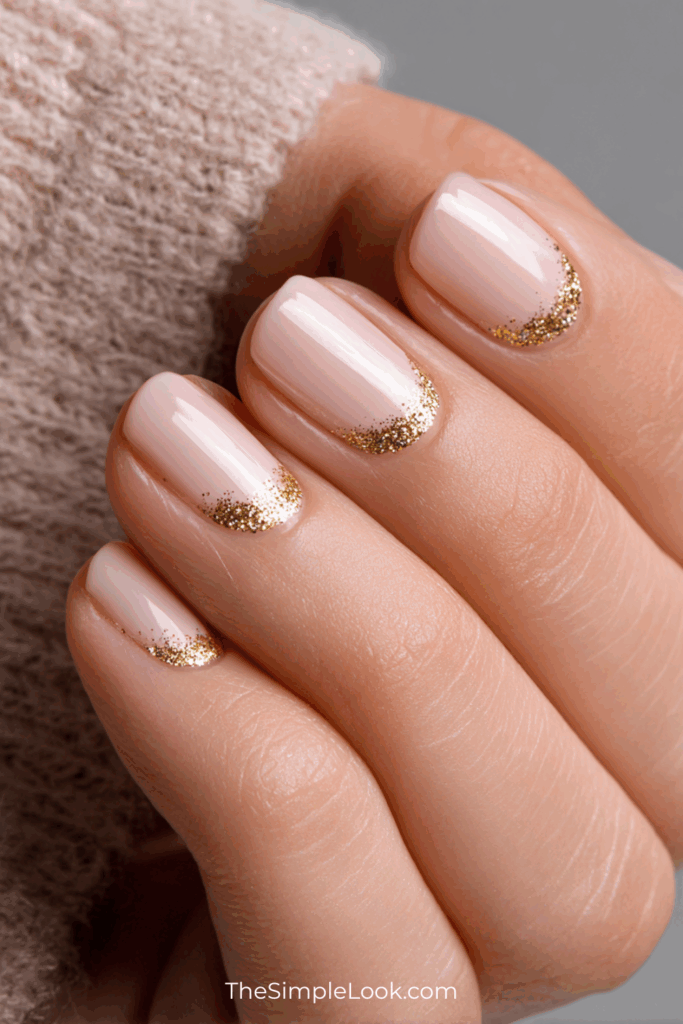
Instead of coating the entire nail, focus your glitter near the cuticle. This creates a reverse-gradient effect that’s understated yet striking.
A soft nude or neutral base allows the shimmer to stand out without overpowering your look. Use a thin liner brush or a precise glitter polish applicator to create a crescent shape near the nail bed.
Why It Works:
- Keeps sparkle contained and symmetrical.
- Adds dimension near the nail’s base where light naturally hits.
- Looks elevated and clean — not messy.
This small detail transforms what could be a “festive mani” into something editorial-worthy.
4. Textured Glitter Tips
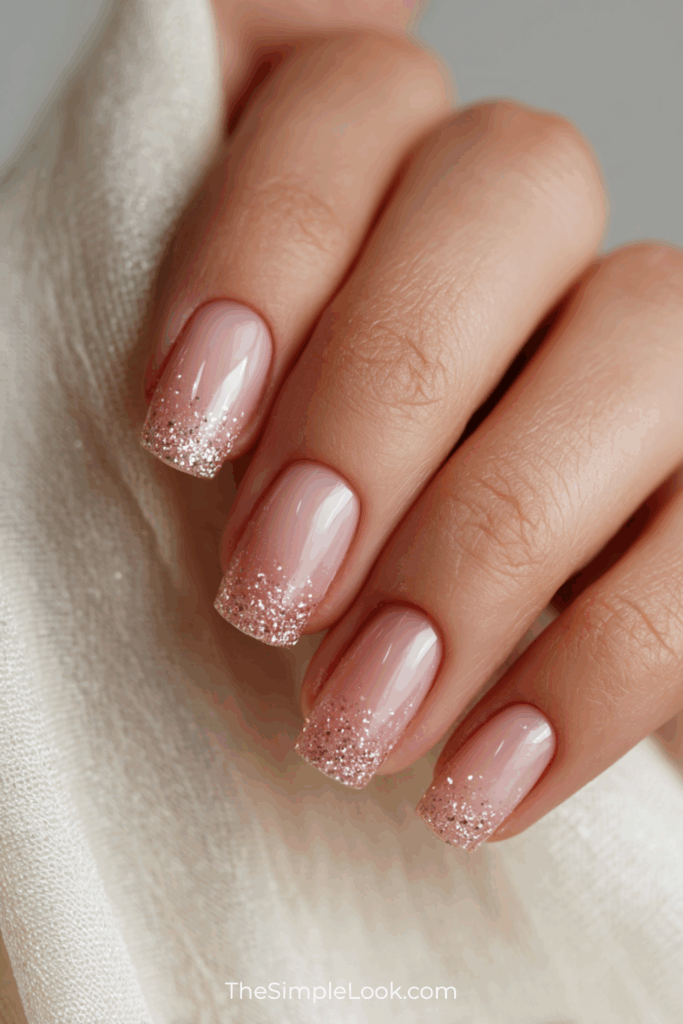
Think of this as a modern French manicure with a festive twist. Apply your favorite sheer nude or pastel base, then add glitter just to the tips.
For a truly sophisticated glitter effect, try these finishes:
- Iridescent silver or champagne glitter for subtle reflection.
- Micro gold flecks for warmth and richness.
- Matte top coat over glitter for unexpected contrast in nail texture.
This design works well for short or medium-length nails, especially almond or squoval shapes that complement gradient finishes.
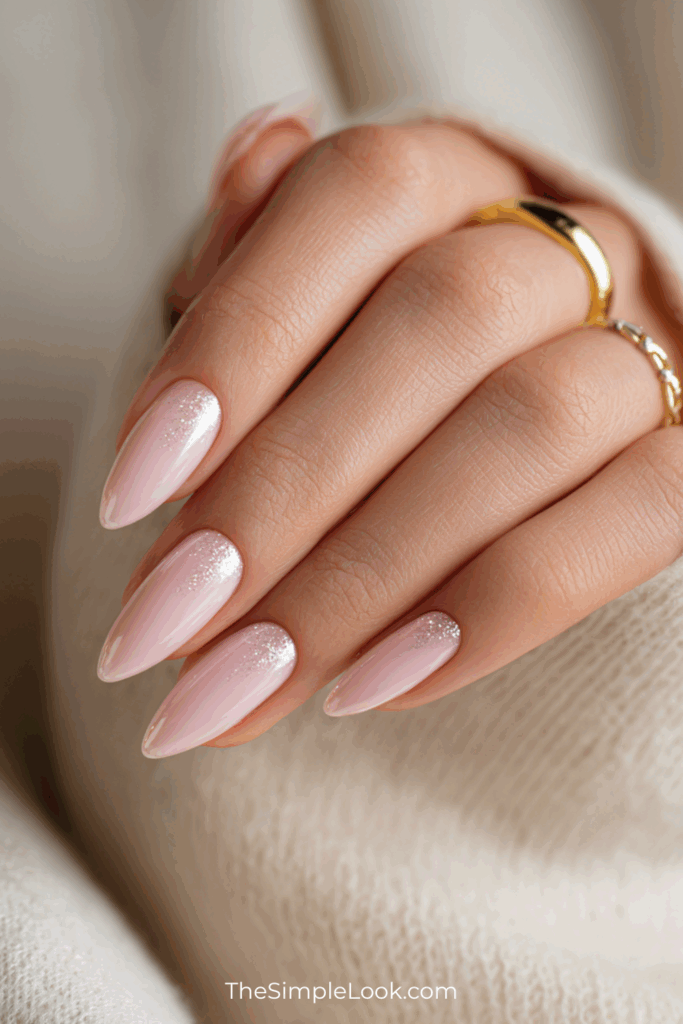
5. Glitter Underlay: The Peekaboo Shine
For a discreet take on glitter nail designs, try applying glitter polish as an underlayer beneath a translucent or milky top coat.
This creates a blurred, glowing effect — almost as if the glitter is glowing from within. It’s a favorite among minimalists who want subtle depth without visible sparkles.
How to Create the Look:
- Apply one coat of fine glitter polish.
- Seal it under one to two layers of a milky sheer shade (like OPI “Funny Bunny” or Essie “Mademoiselle”).
- Finish with a glossy top coat for a smooth, glassy surface.
Result: Elegant dimension and sophisticated shimmer that’s whisper-soft, not loud.
6. Gradient Glitter Nails

Gradient glitter — where sparkle transitions seamlessly from one tone to another — creates visual interest while staying balanced.
For example:
- Silver fading into rose gold.
- Champagne blends into soft pink.
- Midnight blue fading into icy silver.
Pro Tip: Apply with a sponge for an even gradient without visible edges. It helps the nail texture stay refined and consistent.
This look is perfect for winter parties, weddings, or festive evenings — the sparkle reads high-fashion rather than holiday craft.
7. Minimal Glitter Lines
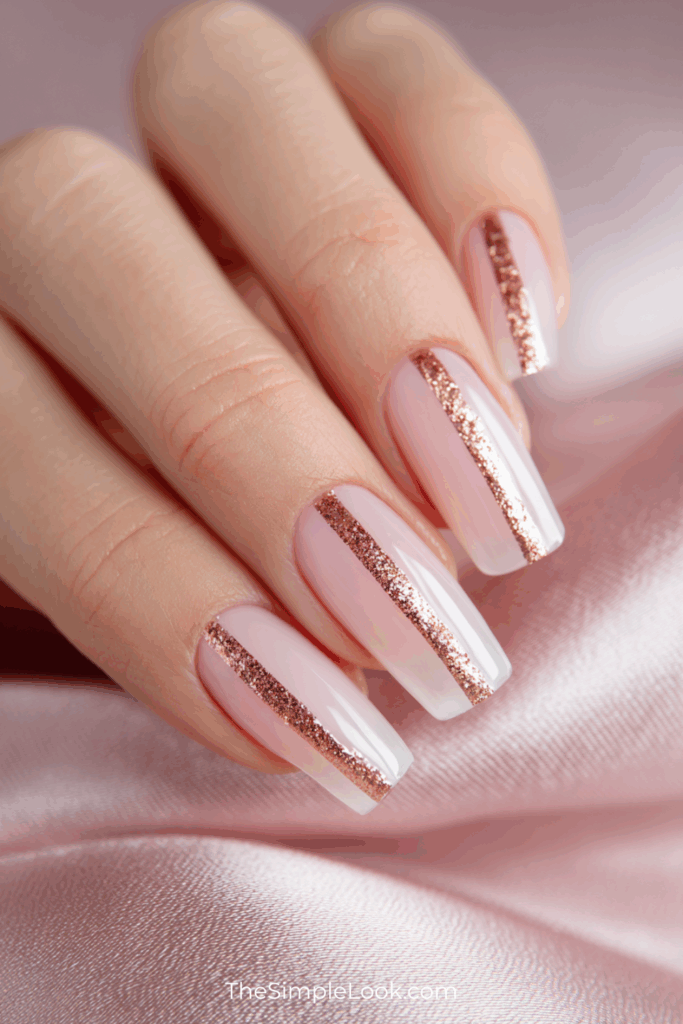
Thin glitter stripes can define your nail shape without overwhelming it. Use striping tape or a fine nail art brush to create vertical, diagonal, or French-style glitter lines.
Design Ideas:
- One single line down the center for elongation.
- A slim French tip outline for minimalist definition.
- Asymmetrical diagonal lines for movement.
Keep the color palette neutral — think silver, champagne, or rose gold — so the design feels intentional and elevated.
8. Glitter & Matte Fusion
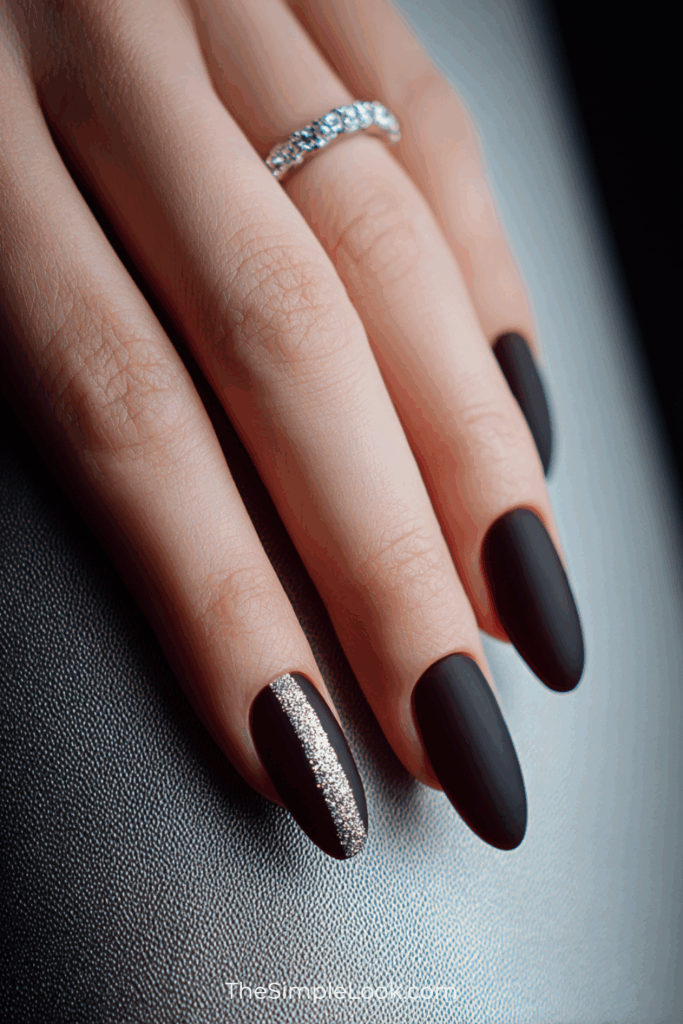
One of the most fashion-forward combinations is matte polish paired with a glitter accent. The contrast of flat and reflective textures makes your nails feel dynamic yet controlled.
Example:
Apply a matte charcoal or nude base, then add fine silver glitter to one nail or just to the tips.
This design balances glamour and restraint — the sophisticated glitter touch without crossing into overly festive territory.
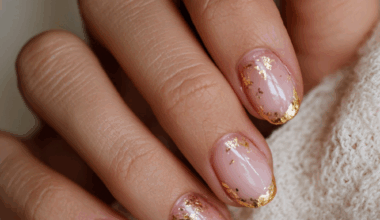
9. Pressed Foil & Glitter Mix

If you love dimension, pair small pieces of gold foil with fine glitter polish. This mix gives off a liquid gold or “molten” effect when sealed under a glossy top coat.
Tips for Success:
- Use tweezers to apply foil pieces sparingly.
- Avoid layering too much — it can create a bulky nail texture.
- Seal with a clear gel top coat to lock everything in place.
The result is artistic, reflective, and still elegant enough for everyday wear.
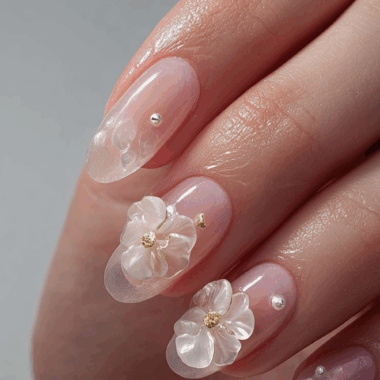
10. Glitter-Centered Minimalism
Sometimes less truly is more. Try adding a single dot of glitter at the center base of each nail — similar to a minimalist gemstone placement.
This works beautifully with short, clean nail shapes and soft pink or beige tones. The sparkle becomes an intentional detail rather than a decoration.
Pair with gold jewelry and natural makeup for a quiet luxury approach to glitter nails.
Expert Application Tips for Flawless Glitter Nails
- Always start with a smooth base coat.
It helps polish adhere evenly and minimizes ridges, crucial for maintaining a refined nail texture. - Use thin layers.
Thick glitter coats dry unevenly and can look chunky. Multiple thin layers create a smoother, glass-like result. - Seal with a high-gloss top coat.
This prevents rough edges and adds instant sophistication. - Choose one texture focus.
If you’re using chunky glitter, keep the color palette soft. If using micro-glitter, you can go bolder with tone contrast. - Avoid over-decorating.
Glitter already reflects light — combining it with rhinestones or bright decals often tips the look from luxe to loud.
Seasonal Glitter Looks Worth Trying
- Winter: Silver and champagne gradients with a glossy finish.
- Spring: Soft pink or lilac shimmer fade.
- Summer: Rose gold and coral sparkle lines.
- Fall: Copper and bronze fine-glitter accents with matte contrast.
No matter the season, glitter nail designs work best when they look effortless — shimmering with intention rather than overwhelming shine.
Final Thoughts
Modern glitter nails are no longer about disco-ball drama. They’re about mastering balance — sparkle that complements rather than competes.
By focusing on refined finishes, light textures, and curated placement, you can achieve glitter nail designs that feel polished, elevated, and seasonless.
The key is moderation: think of glitter as an accent material, not a full-coverage feature. With the right techniques and textures, even your festive mani can look runway-ready, office-appropriate, and timelessly elegant.